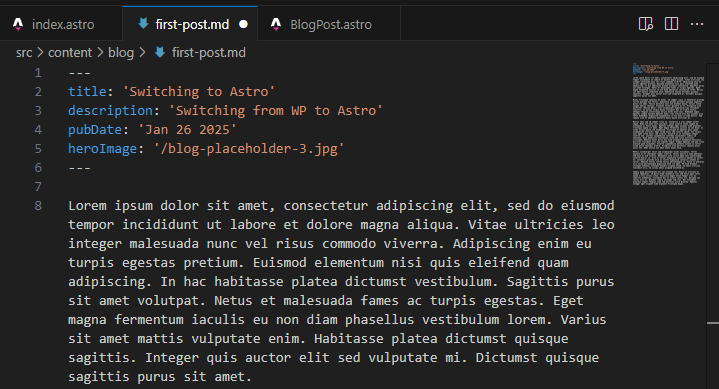
Switching to Astro
With Wordpress’ latest turmoil I decided to shop around figuratively speaking for a replacement. I want to eventually move away from forum architecture on couchit.net as it didn’t make sense for the content type I generally post. After taking a look around I came across Astro and while I am typically accustomed to CMS systems that may have been part of my reason for change. Wordpress is simply heavy for what I do; and while it takes a lot of the time constraints out of posting the tradeoff of security and simplicity just felt better.
Building a server
The first place we needed to start was building a server. After it was created and we configured caching in nginx it was time to start installing the pre-requisite tooling.
You can thankfully find most of this in Astros documentation To get started we needed to make sure we had Nodejs and NPM installed. In our case we build on Ubuntu. All of this should be simple enough to do with ansible or some other tooling but to look at the nuts and bolts we will be manually doing each step.
sudo apt install nodejsNote: You should check the install documentation to see what Node version is supported by Astro.
Followed by NPM.
sudo apt install npmWhile not strictly necessary feel free to create a directory to host your new node instance. In this case we will name the folder couchit.
sudo mkdir couchitThen navigate to it. Some framework wizards will ask and create said folders for you, but whats important to know is its good practice to have a root folder for your node project.
cd couchitLets move on.
Installing Astro
Now it’s time to install Astro. The install itself is easy enough, but we will also be doing some configuration to the core build files and automating the instance start.
Lets begin by actually installing Astro. You can take this time to specify the template if any that you might want. This format will be blog so thats what we are going to go with; but you can browse the starter templates or the entire collection
npm create astro@latest -- --template blog
Lets walk through the options slowly. Since we have created our directory we will specify in our case ./couchit
This should install all the necessary files into the folder we created.
Now it will ask if you want to install dependencies I recommend doing this to simplify your setup later.

You will be then asked to initialize a git repo. I recommend this in the event you are, or ever want to use git to deploy your site automatically in the future.

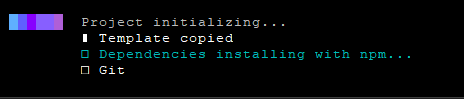
The process will now continue and show you the various stages along the way.
When is all said and done you are ready to begin!
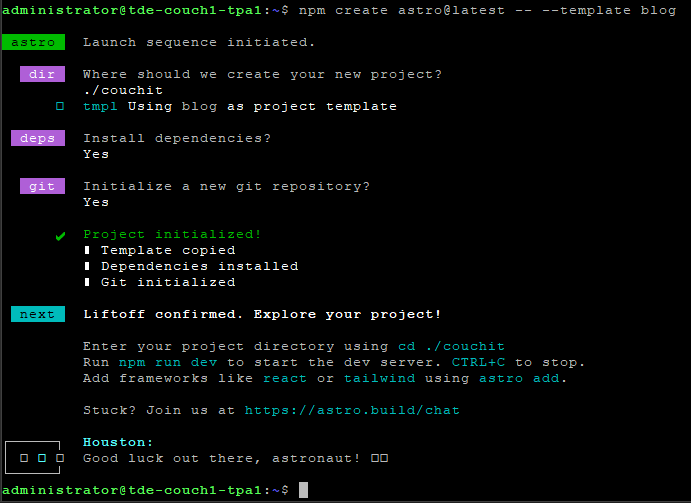
If you would like to check to make sure the process worked correctly simply ls the directory to reveal the contents.

Configuring Astro
Now that Astro is installed it’s time to configure it. If you haven’t already CD to your installation directory.
cd couchitNow we need to add the Node integration. To do that we will run the following.
npx astro add nodeAllow the node modifications requested.
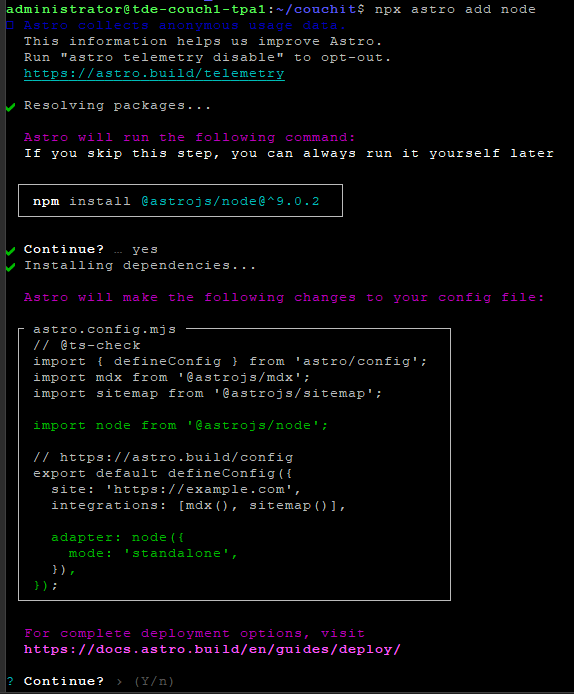
The process should finish almost instantly and you will be greeted with the following:

We now need to build our project at least once to generate the additional configuration files we need to modify later.
npm run build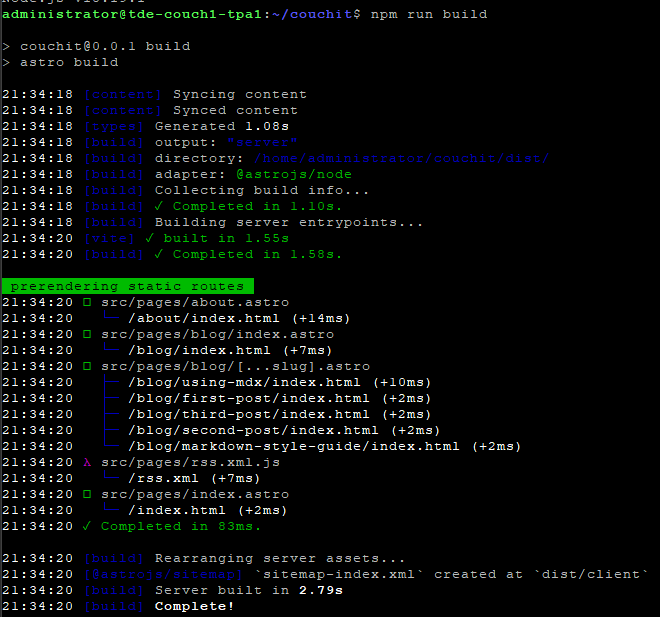
Now that the build has completed if we want to run a production site we now should change the default run state. To do that we will modify the build configuration file.
nano ./dist/server/entry.mjsWe want to change the following host variable
from
"host": false,
to
"host": true,
You can now save and exit the document if you have no other modifications you would like to make to other variables.
Note: If you would like to view a local copy you can execute
npm run buildto build and run the site as it.
Configuring PM2
Now that you have your Astro project installed and configured to run with Node we may want to actually want to make sure the project is running when the server, instance or container is restarted.
To do this we will be installing and configuring PM2 a process manager for Nodejs.
sudo npm install pm2 -gOnce PM2 installs we will need to run it and generate the starup variables so we can communicate with it later.
To do this run the following:
pm2 startupThe output will look as follows.

You will need to run the generated command. In our specific case it is:
sudo env PATH=$PATH:/usr/bin /usr/local/lib/node_modules/pm2/bin/pm2 startup systemd -u administrator --hp /home/administratorOnce the command is run, PM2 will build its service and associated configurations and end with the following:

Now that PM2 is installed we can now tell it to run our Node instance for Astro. We do that by telling PM2 to execute the build file we modified earlier.
pm2 start ./dist/server/entry.mjs
Now that the Astro instance is running, we need to tell PM2 to save this instance configuration so it will execute it during host reboots etc.

Perfect! If you ever want to check to see what PM2 is doing you can do so with:
pm2 listPerfect; feel free to use -h to get more familiar as you get more comfortable.
Finishing up 🎉
Congratulations! You have installed Astro, enabled Nodejs and Configured PM2! As a final check you can run the following command to make sure everything is running.
curl localhost:4321At this point make sure you edit astro.config.mjs specifically the site variable.
site: 'https://example.com',In our case we are using Nginx as a reverse proxy so when we specify our URL we will be using the full URL including httP:// with no S.
When you get to editing don’t forget to rebuild astro and restart the pm2 instance.
npm run build && pm2 restart allHave fun!